How to Clean Makeup Brushes (And How Often)
Makeup brushes sit against your skin every day, pick up oil, dead skin cells, and leftover product, then go straight back into a bag or a cup on the counter. Nothing about that process cleans itself. A brush that looks fine can still carry a mix of bacteria, fungus, and old formula residue that gets reapplied to your face every time you use it. The question that matters most isn’t whether to clean them; it’s how often to clean makeup brushes based on what each one actually touches.
This article is part of a fragrance blog I built myself — I’ll explain how at the end if you’re curious.
Why Dirty Brushes Are a Bigger Deal Than You Think
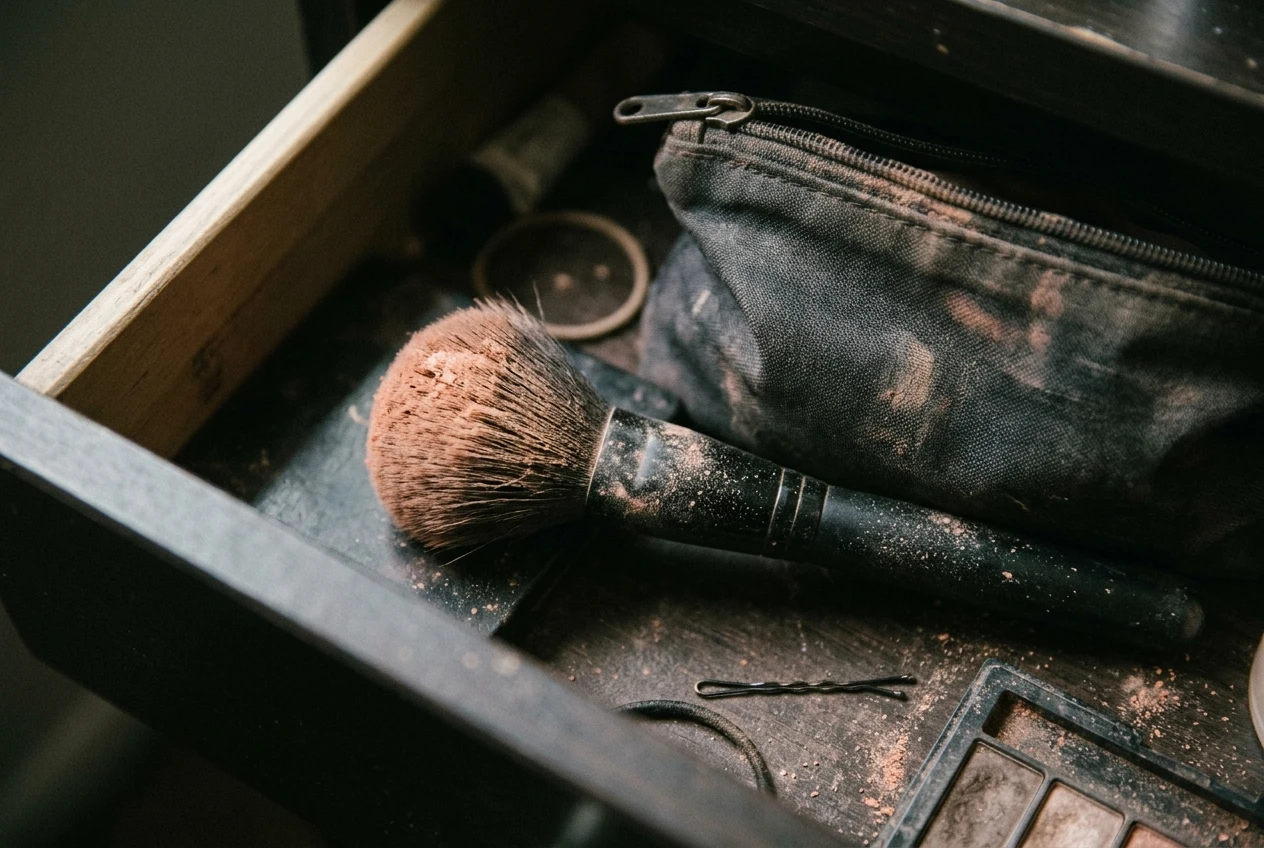
A used makeup brush is a breeding ground for bacteria. It stays slightly damp from liquid products, picks up skin oils, and often gets stored somewhere dark and enclosed, like a drawer or a makeup bag. Those are the same conditions bacteria need to multiply.
The effects show up on your skin before they show up on the brush itself. Clogged pores, small breakouts along the cheeks and jawline, and skin that looks duller than usual can all trace back to the tools applying your foundation and powder, not just the products themselves. Eye brushes carry their own risk: bacteria near the eye area can lead to irritation or infection, and that area is more sensitive than the rest of the face.
Not every brush needs daily scrubbing, and treating them all the same way misses the point. The cleaning schedule should match how the brush is used, not a single blanket rule.
Related Article: Best Perfume for Sensitive Skin
How Often You Need to Clean Each Type of Brush
The common advice to “clean your brushes weekly” treats every brush the same way, which isn’t how they’re actually used. Brushes that touch liquid or cream products build up residue faster than brushes that only touch powder, so the honest answer to how often to clean makeup brushes depends on what’s in the bristles, not the calendar alone.
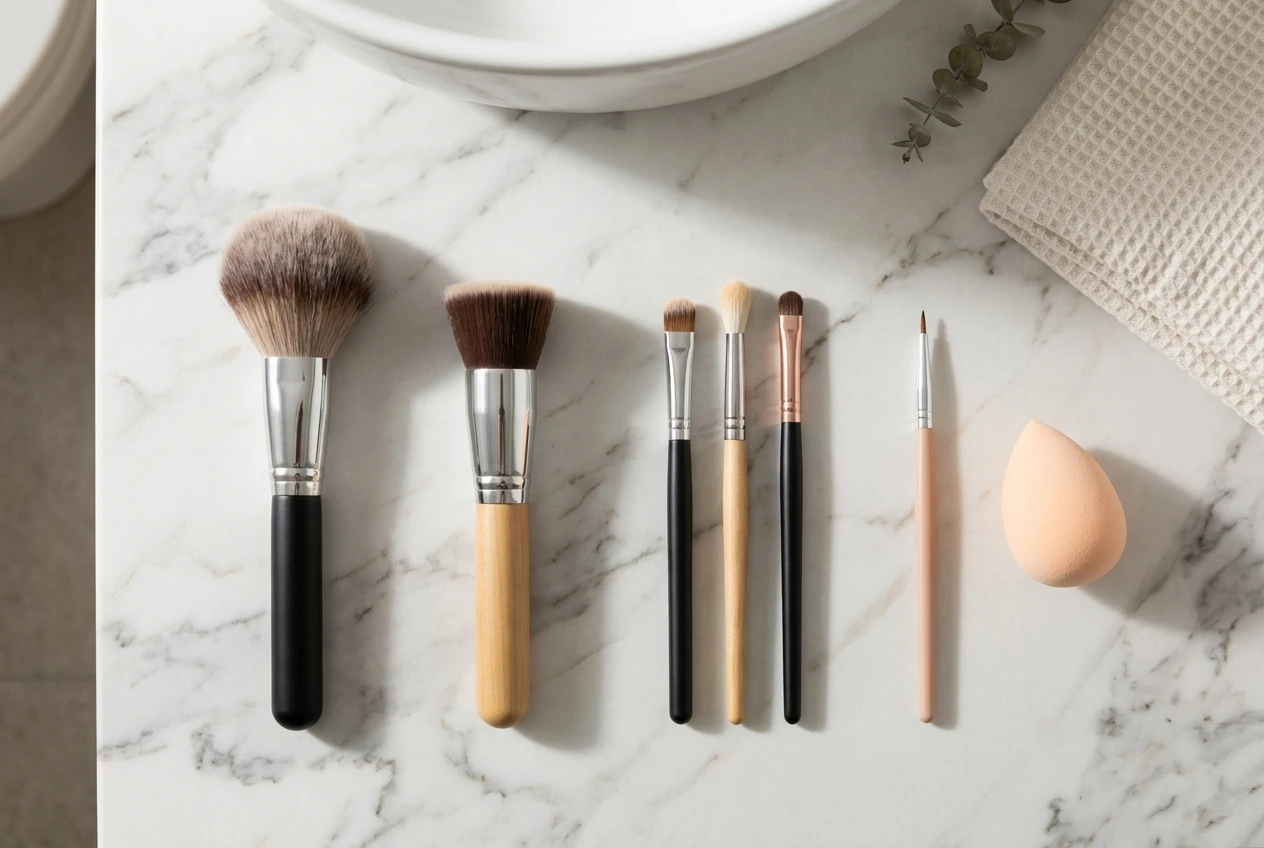
A practical schedule by brush type:
- Foundation, concealer, and cream contour brushes: every 1 to 2 uses, or at least once a week. Liquid and cream products sit in the bristles and start to break down and smell if left too long.
- Powder, blush, and bronzer brushes: every 1 to 2 weeks. Dry product doesn’t build up as fast, but skin oil still transfers onto the bristles each time you use them.
- Eye shadow brushes: every 1 to 2 weeks, more often if you’re using cream shadows or sharing colours between brushes for different looks.
- Eyeliner and lip brushes: after each use if possible, since these tend to be used with cream or liquid formulas close to a sensitive area.
- Makeup sponges (like a Beautyblender-style sponge): after every single use. Sponges hold more moisture than brushes and dry out more slowly, which makes them one of the fastest places for bacteria to grow.
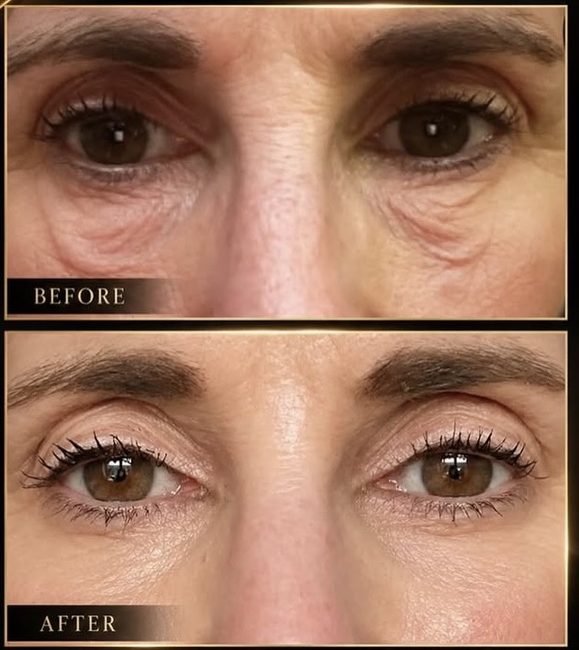
A few years ago, I used to apply my foundation with a makeup sponge. Even though I cleaned it regularly, I started experiencing a reaction around my lower eyelids, which became very puffy. I couldn’t be certain what was causing it, but I wondered whether bacteria might still have been lingering in the sponge despite cleaning it. Since then, I’ve switched to using my fingertips to blend in a small amount of foundation, and I haven’t experienced any problems since making that change. It goes to show that sometimes the simplest application method works best for your skin!
If a strict schedule feels like too much to track, a simpler rule works almost as well: clean liquid and cream tools weekly, clean powder tools every other week, and clean sponges after each use without exception. That one rule alone answers most of what people search for when they ask how often to clean makeup brushes, and it’s easier actually to stick to than a brush-by-brush chart.
What To Use To Clean Them: Soap, Brush Cleansers, and What To Skip
You don’t need a cabinet full of speciality products to clean brushes well. A mild, oil-cutting cleanser is really all the job requires.
Options that work:
- A gentle liquid soap or baby shampoo, diluted with warm water. This breaks down oil and product buildup without being harsh on the bristles.
- Dedicated brush cleansers or brush shampoos, sold specifically for this purpose. These are formulated to clean and condition bristles in one step, and they’re worth looking into if you want a slightly more hands-off routine.
- A quick-dry spray cleanse is useful for in-between days when you want to spot-clean a brush between full washes, not as a replacement for actual washing.
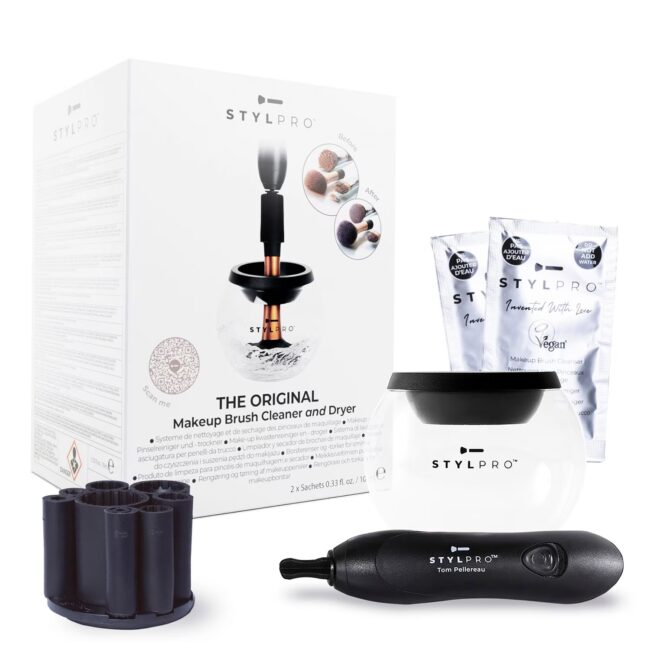
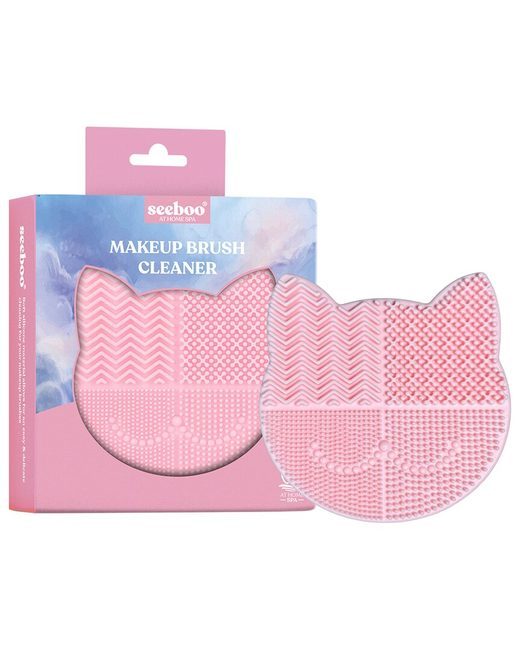
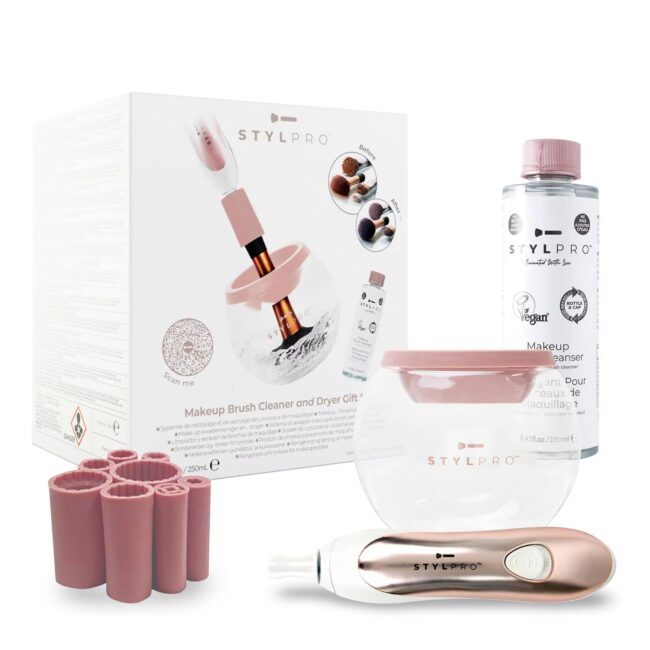
If you want to go all out when cleaning your makeup brushes, you can invest in a dedicated makeup brush cleaning kit rather than relying on cleaning sprays alone. These kits often include a brush-cleaning solution, a textured cleaning mat or pad to help remove stubborn makeup residue, and sometimes a brush-drying stand. Ideally, wash brushes used for liquid foundation and concealer at least once a week, as they can quickly build up product, oils, and bacteria. You can generally clean brushes used for powder products every one to two weeks, depending on how often you use them. Regular cleaning helps keep your brushes in better condition and may also reduce the risk of skin irritation and breakouts.
What to skip:
- Harsh dish soap or hand sanitiser as a regular cleaner. These can strip natural bristles and break down the glue holding synthetic bristles into the ferrule, shortening the brush’s lifespan.
- Alcohol-based cleaners as your only method. Alcohol kills bacteria quickly, which makes it useful for a fast spot-clean, but it dries out bristles and doesn’t remove built-up oil or product the way soap does.
- Hot water. Warm water is enough to loosen product. Hot water can warp the glue at the base of the bristles over time, especially on cheaper brushes.
The actual washing process is straightforward: wet the bristles, swirl them gently in your palm or against a textured cleaning pad with a small amount of cleanser, rinse until the water runs clear, and gently squeeze out excess water with a clean towel.
The Right Way To Dry Brushes so Bacteria Doesn’t Come Back
Drying is the step most people skip or do wrong, and it determines whether your cleaning actually worked. A brush left damp, especially one lying flat or standing upright with water trapped near the ferrule, becomes a place for bacteria to grow again within hours, which undoes whatever good the cleaning schedule just did.
The right way to dry a brush:
- Reshape the bristles right after rinsing, while they’re still damp, so they dry in their original shape instead of flattening or splaying out.
- Lay the brush flat on a towel with the bristle end hanging slightly off the edge of a counter. This keeps water from running down into the ferrule, where it can loosen the glue and cause bristles to shed.
- Avoid standing brushes upright to dry, bristle-side up, since water will travel down into the base.
- Keep them out of closed spaces like a makeup bag or drawer until they’re completely dry, which usually takes several hours depending on the brush size and material.
- Check for dampness at the base of the bristles before putting a brush away. This part stays wet longest and is most likely to grow bacteria if stored too soon.
Natural hair brushes take longer to dry than synthetic ones, so plan around that if you’re cleaning brushes you use daily and need them back in rotation quickly. This also comes down to frequency: a brush that takes a full day to dry needs a backup or a different wash schedule than one that dries in an hour.
Related Article: Why Foundation Looks Flaky on Mature Skin and How to Fix It
Signs It’s Time to Replace a Brush Instead of Cleaning It
Cleaning extends a brush’s life, but it doesn’t make a brush last forever. Some signs mean it’s time to replace the tool rather than keep washing it.
- Shedding that doesn’t stop. A few loose bristles right after a wash are normal. Bristles coming out during regular use, especially in clumps, mean the glue at the base is breaking down.
- A permanent odour. If a brush smells off even right after washing and drying, product has likely worked its way deep into the ferrule, where cleaning can’t fully reach.
- Bent or splayed bristles that won’t reshape. Once bristles lose their original shape permanently, the brush won’t apply product evenly no matter how clean it is.
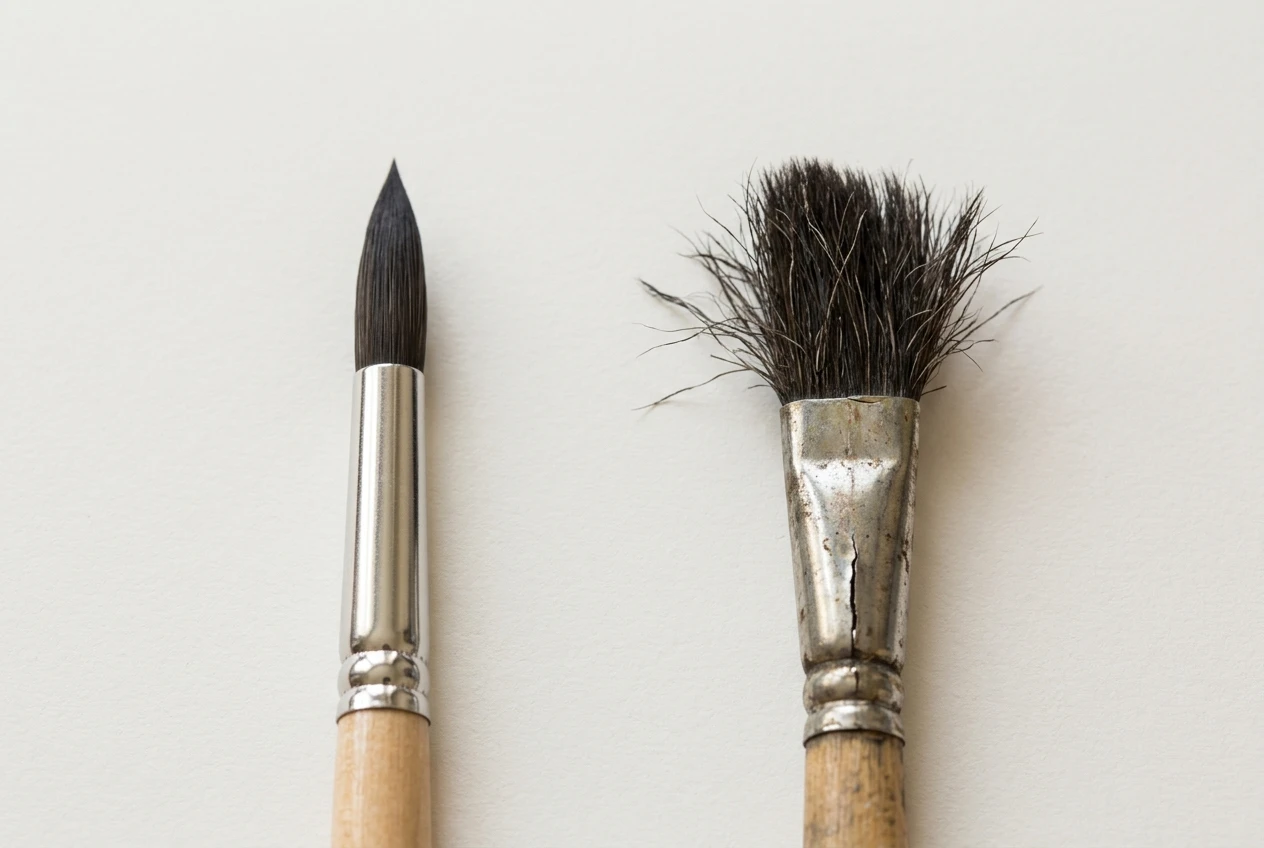
- Visible fraying or cracking at the ferrule or handle, which can mean the whole brush is close to falling apart.
- A brush you’ve had for years with heavy daily use. Even with good care, brushes used constantly for foundation or concealer tend to wear out within a couple of years, while brushes used less often can last much longer.
None of these is a cleaning problem. They’re wear problems, and no amount of washing fixes them.
How This Blog Was Created
Fragrances With Love started as a personal hobby — sharing my love of perfume, affordable finds, and fragrance trends. I didn’t start with a background in websites, marketing, or blogging.
I built this site by writing about something I genuinely enjoy. I use one platform to host my website, write my blog posts, and learn how to monetise my content step by step, all in one place.
If you enjoy writing and have ever thought about starting a blog around something you love, you can see the platform I used to create this site below.
How I Created Fragrances With Love
Do You Need Expensive Brushes, or Just a Good Cleaning Habit
This question matters more than people expect, and it rarely gets answered honestly. A cheap brush that’s cleaned regularly will perform better and last longer than an expensive brush that’s never washed. Cleaning habits matter more than the price tag.
That said, price does affect a few things worth knowing:
- Synthetic bristles (common in budget brushes) tend to hold up well to frequent washing and work better with liquid and cream products.
- Natural hair bristles (more common in higher-priced brushes) can be gentler for blending powder products but are generally more sensitive to harsh cleansers and hot water, so they need more careful handling.
- Build quality, meaning how securely the bristles are set into the ferrule, affects how much shedding happens over time regardless of price. Some budget brushes are built well; some expensive ones aren’t.
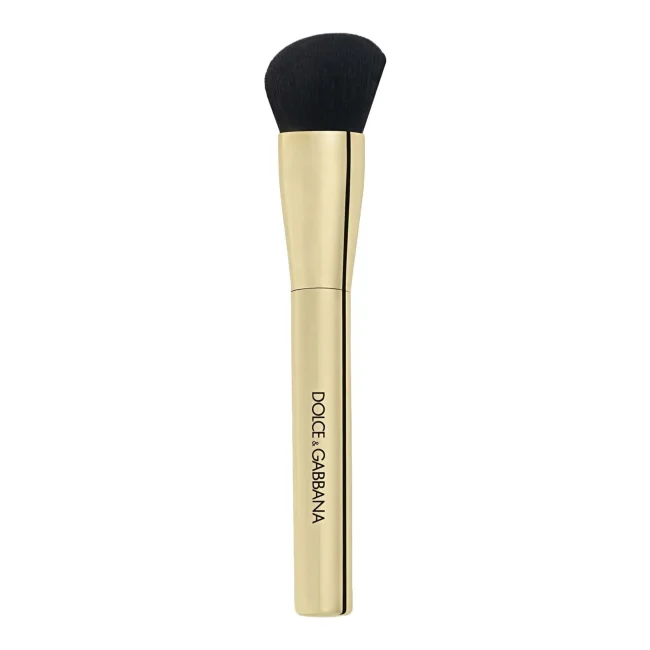
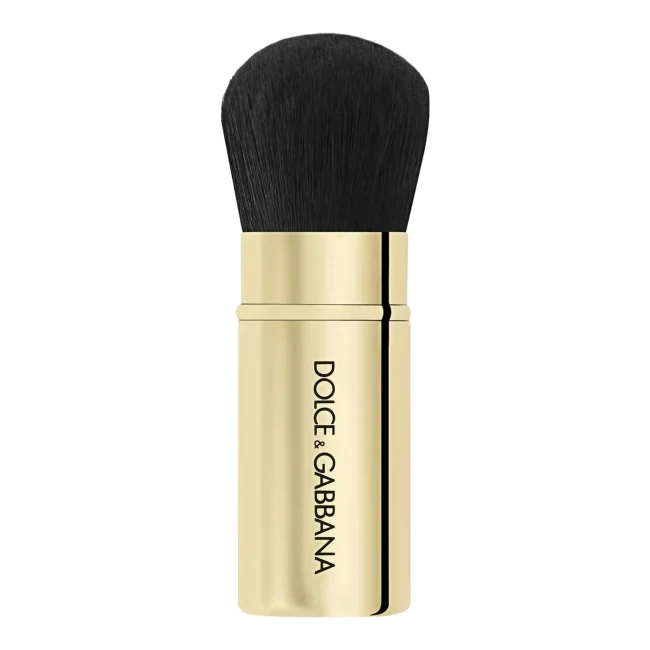
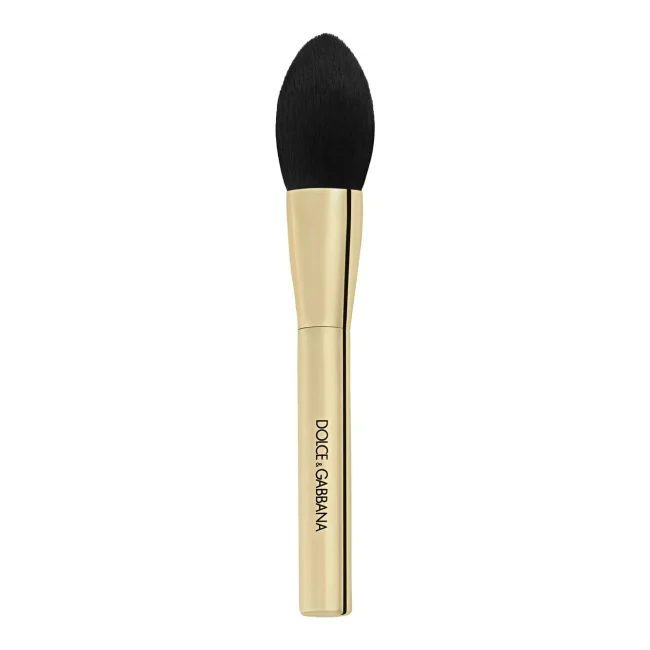
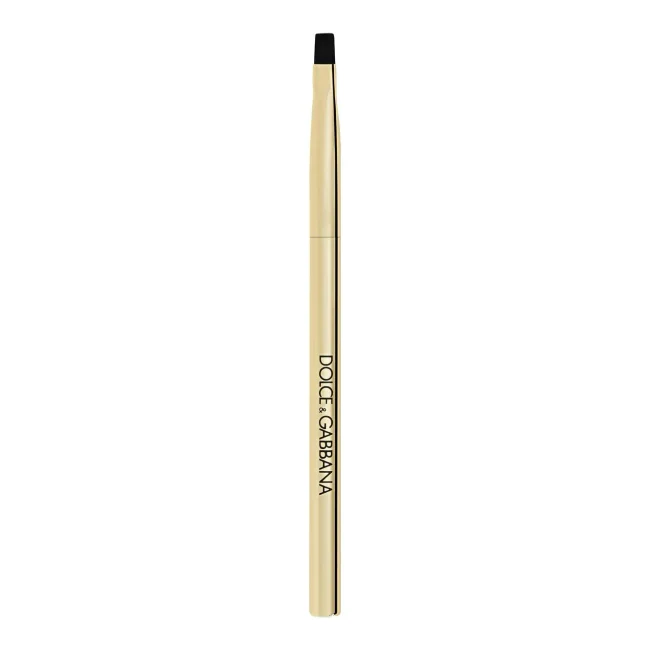
For everyday use, a mid-range or budget brush set that’s cleaned on a consistent schedule will outperform a premium set that’s neglected. Spending more makes sense if you want specific bristle types for certain techniques, not as a shortcut around regular cleaning.
If you’re building a cleaning routine and want to compare brush cleansers, brush shampoos, or drying tools before deciding what fits your routine and budget, it’s worth looking up a few options side by side to see which type suits the brushes you already own.
I absolutely love a good makeup bag! In fact, I have several in different sizes to suit all my beauty essentials, whether I’m popping a few bits in my handbag or keeping my makeup collection organised at home. I’ve put together a lovely collection of makeup bags in my ShopMy account, with different styles, sizes, and designs for you to browse. If you’re looking for a new favourite to keep all your beauty must-haves together, why not pop over and take a look? 💄💕
💌 Love beauty, makeup and gorgeous fragrances?
Sign up for our newsletter and be the first to discover helpful beauty tips, makeup advice, fragrance inspiration and wonderful candle scents. From keeping your makeup brushes clean to finding your next favourite perfume or creating a beautifully scented home, there’s plenty to explore!
Join our mailing list today and let a little beauty inspiration land in your inbox! ✨
You May Also Like